| Island Newcomer | Tutorial complete! Enjoy your life on the island! | Complete the Tutorial |
| Home Builder | Time to build my own little slice of paradise! | Expand your home for the first time |
| Dream Manor | Welcome home, esteemed owner of a magnificent manor. | Purchase five new plots |
| Landowner's Pride | All this land? You bought it yourself. | Purchase a single new plot |
| Get on Board Now! | Toot toot! All aboard! | Craft a bus stop |
| Living Legend | Everything under the sun... and then some. Mine! All mine! | Own all plots of land |
| Road Master | Go wherever you want, whenever you want. | Build a total of nine bus stops |
| My Big House | From here to there, it's all my home. | Buy all plots of land |
| Landlord Pride | Now I'm the landlord. | I am yet to discover how to complete this achievement |
| Sandcastle Kingdom | Ah, the sea-you're all but water. | Buy a land in Blue Beach |
| Lakeside View | A hint of green, a touch of spring. | Purchase a land in Cloudrest Lake |
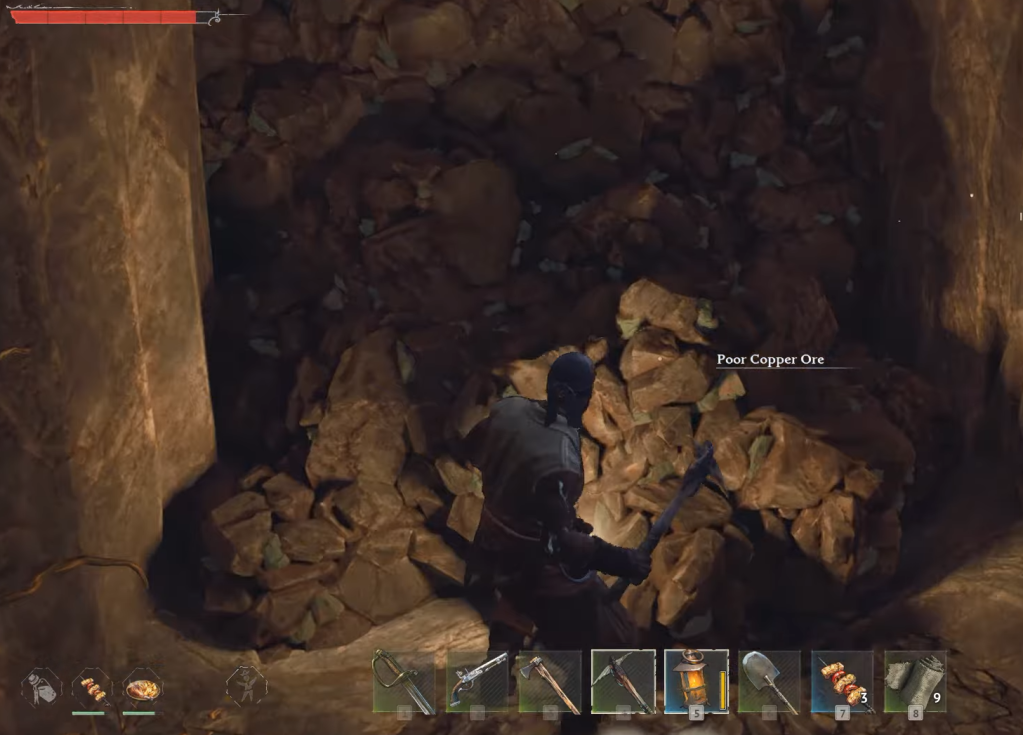
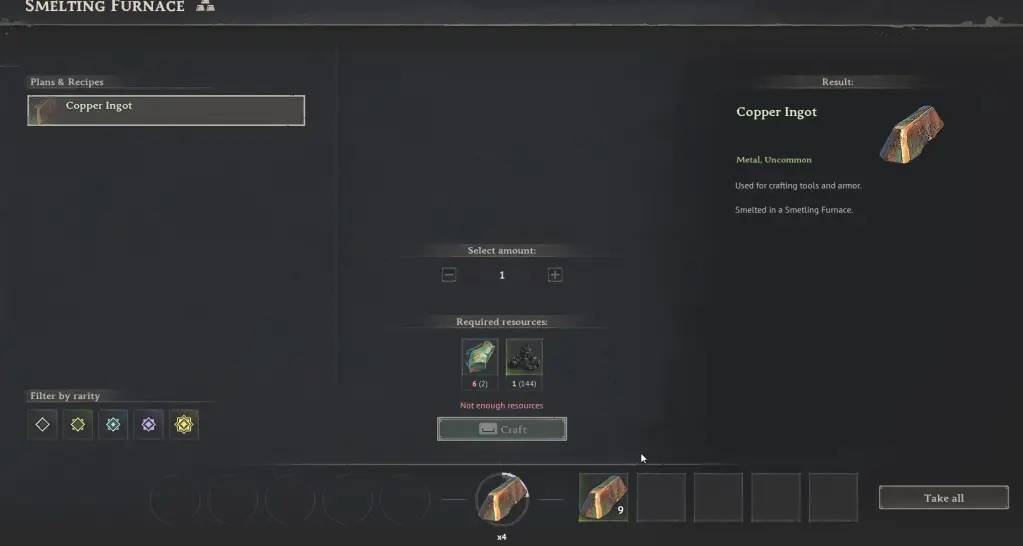
| Patchwork | Fixing this, mending that.... | Reach Apprentice Rank as a Crafter |
| Hammering Away | It works, doesn't it? | Reach Junior Rank as a crafter |
| Scrap Recycling | Scissors, knives, you name it-leave it to us! | Reach Intermediate Rank as a Crafter |
| Alchemy Master | That golden glow is...! | Reach Senion Rank as a Crafter |
| Call of the Wild | Starting with just a hoe... | Reach Apprentice Rank as a Farmer |
| Tech Genius | Now, anything can be crafted. | Reach Expert Rank as a Crafter |
| Organic Fertilizer | Hold your breath while making them.... | Reach Intermediate Rank as a Farmer |
| Intensive Cultivation | Plant a seed in spring, harvest a thousand in autumn. | Reach Junior Rank as a Farmer |
| Legendary Grower | Everything grows in your farmland. | Reach Senior Rank as a Farmer |
| Guaranteed Ripeness | You'll never grow an unripe melon. | Reach Expert rank as a Farmer |
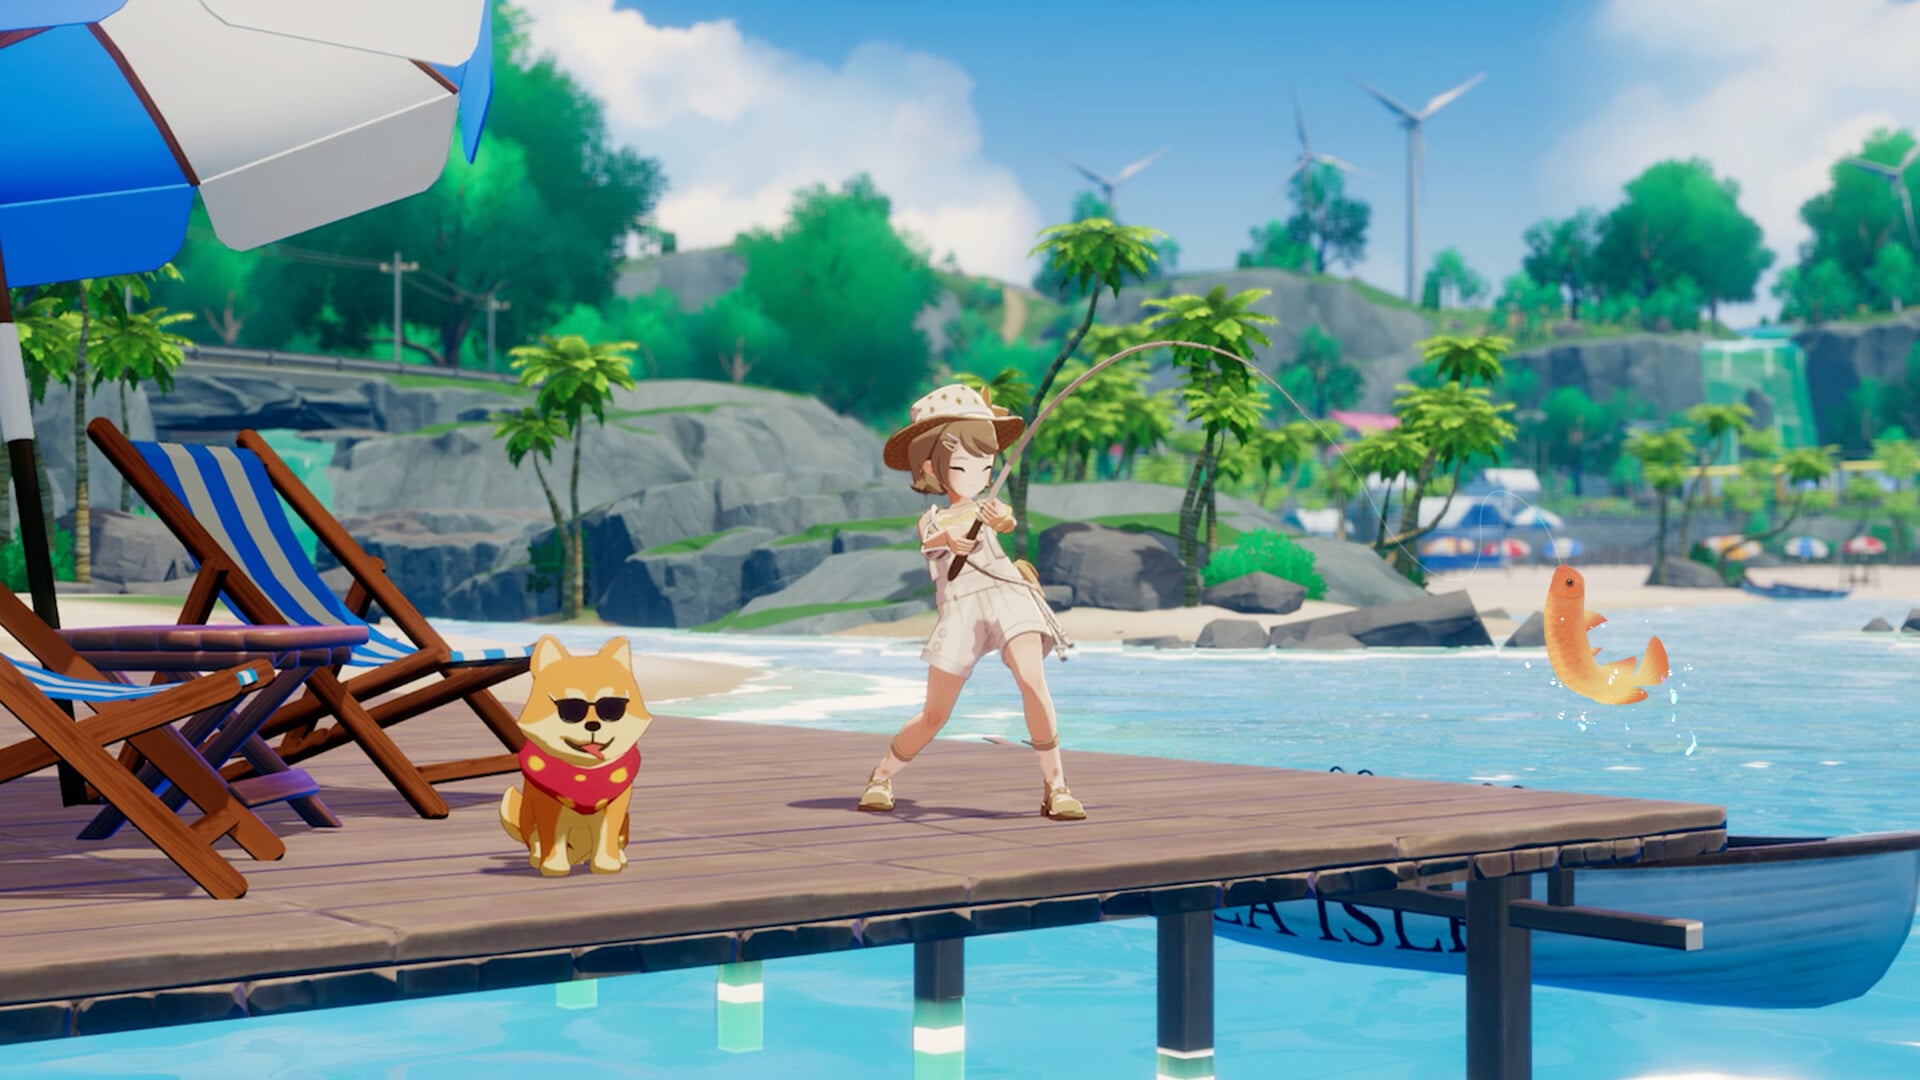
| They Keep Escaping | The bait is delicious to them. | Reach Apprentice Rank as an Angler |
| Beginner's Protection | Cherish your beginner's protection period. | Reach Junior Rank as an Angler |
| Never Empty-Handed | No more buying fish to fake it. | Reach Intermediate Rank as an Angler |
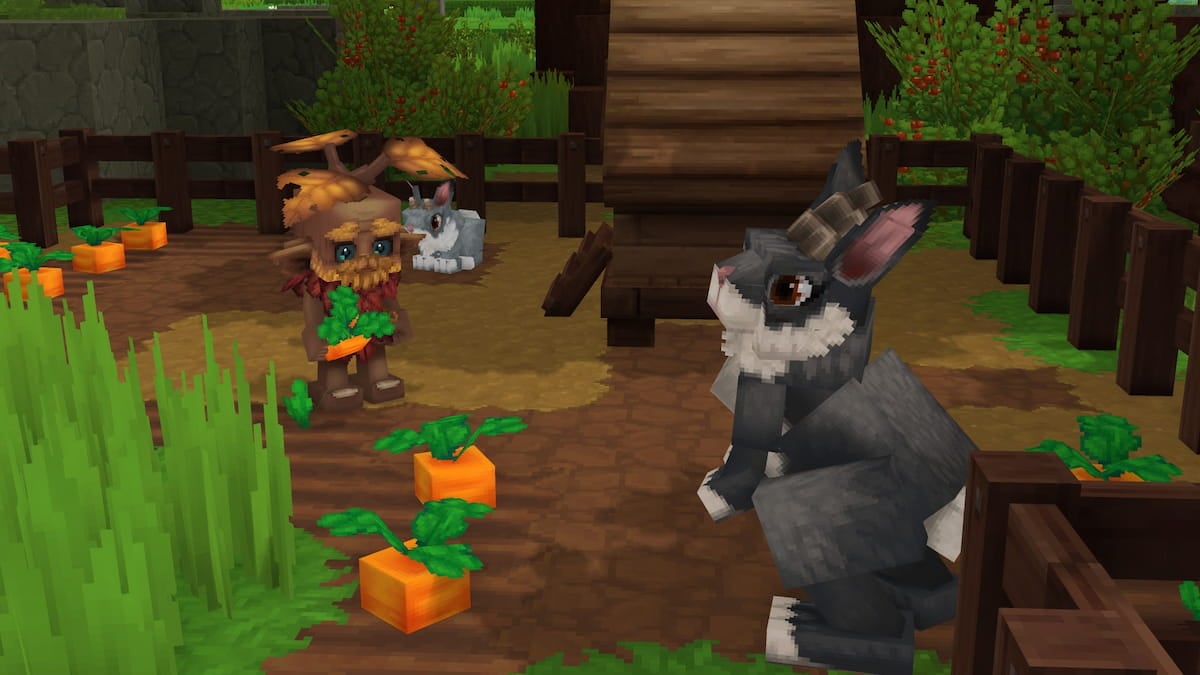
| Cute Bunni | Hello, let me groom you. | Reach Apprentice Rank as a Rancher |
| The Joy of Fish | Do you feel the joy of willingly biting? | Reach Expert Rank as an Angler |
| Willing Bite | You have the magic to make fish bite. | Reach Senior Rank as an Angler |
| Poultry Flock | They look fierce when they pounce... | Reach Junior Rank as a Rancher |
| Pasture Breeze | Once a workaholic, now a rancher. | Reach Intermediate Rank as a Rancher |
| Master Tamer | Where are the magical creatures? | Reach Expert Rank as a Rancher |
| Animal Kingdom | Spring has arrived, and all things are revived. | Reach Senior Rank as a Rancher |
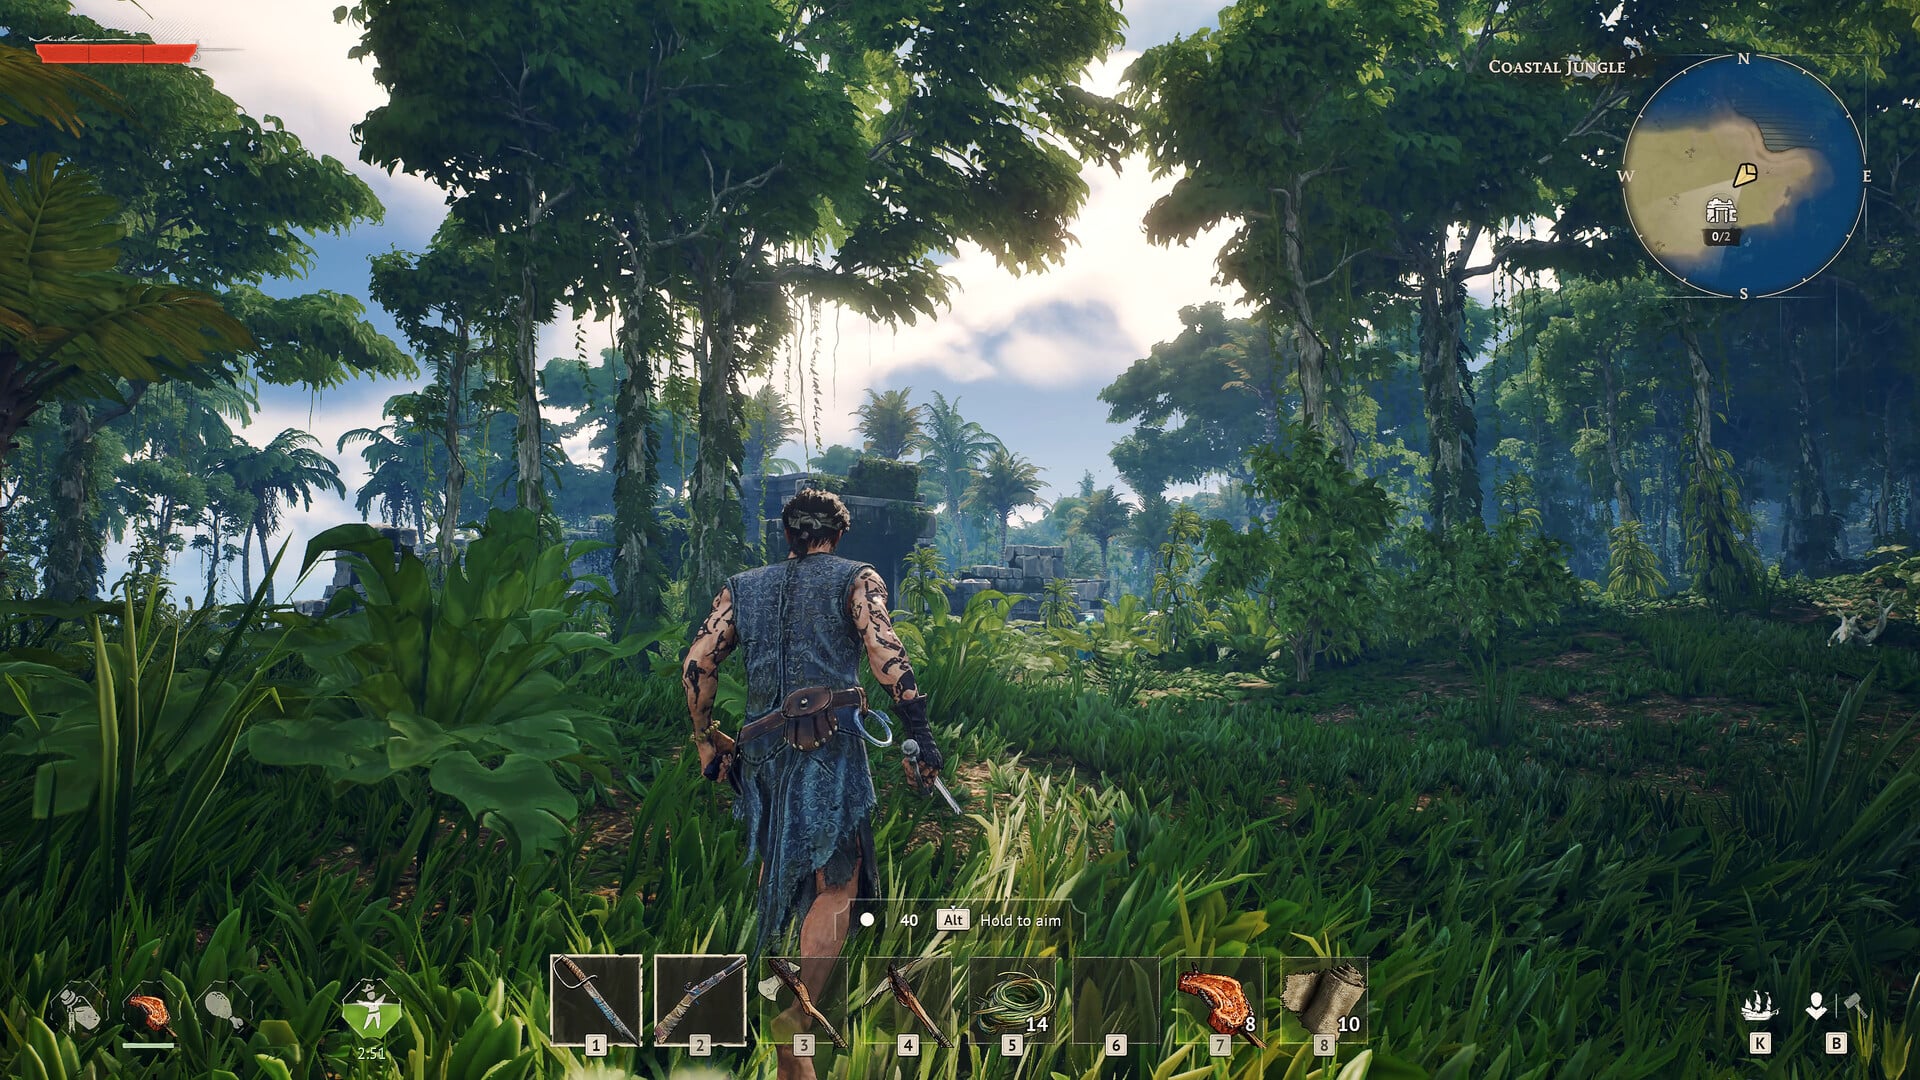
| Where's the Treasure | No treasure, but at least you have the scenery. | Reach Junior Rank as an Explorer |
| Take This Sword | Young adventurers, go explore! | Reach Apprentice Rank as an Explorer |
| Wanderer of Islands | Map the world with your own footsteps. | Reach 22qw Senior Rank as an Explorer |
| The Village Legend | No fell dragon, but you're a hero nonetheless. | Reach Explorer Rank as an Explorer |
| Not a Wild Man | Often seen in the wild, but definitely not a wild man. | Reach Intermediate Rank as an Explorer |
| Jack of One Trade | Why do I feel like not working anymore... | Unlock any profession and gain Apprentice Rank in it |
| Jack of All Trades | A junior-level all-rounder. | Get Junior Rank for all professions |
| Grandmaster | There's nothing left to teach you. | Get Expert Rank for all professions |
| Guided by the Mentor | From zero to... Hey, don't give up yet. | Obtain a perk by using the Workpedia |
| Versatile Helper | Just a call, and I'll be there. | Complete 100 requests |
| This is My Expertise | No one knows this better than me. | Purchase all perks available for a specific profession |
| Getting Familiar | You're getting familiar on the island. | Meet any 10 NPCs |
| Master of all Trades | A true master of all Professions. | Meet every Reach max level of every profession |
| Recognized by Everyone | You're recognized by everyone on the island. | Meet all NPCs |
| Could It be Fate | The moment our eyes met, I knew it was destiny. | Reach Heart Level 1 with at least one romanceable character |
| Hello, My Friend | Nice to meet you. | Reach Heart Level 1 with at least five NPCs |
| Mutual Understanding | Your bond is skyrocketing. | Reach Heart Level 2 with at least one romanceable character |
| Loved by All | You're always noticed wherever you go. | Reach Heart Level 1 with at least 10 NPCs |
| Sincerely Yours | Here's my little heart. | Reach Heart Level 2 with five NPCs |
| Friend Ship | A ship loaded with friends! | Reach Heart Level 2 with at least 10 NPCs |
| Group of Friends | Beep, another message from a friend. | Reach Heart Level 3 with five NPCs |
| Close Friends | Let's share our secrets. | Reach Heart Level 3 with at least one NPC |
| Full House | Just open the door, another friend has arrived. | Reach Heart Level 3 with 10 NPCs |
| Telepathy | Just one glance is enough. | Reach Heart Level 4 with at least one NPC |
| Longing for You | I want to see you today from sunrise to sunset. | Reach Heart Level 4 with five NPCs |
| Inseparable | Sharing life, sharing moods. | Reach Heart Level 4 with 10 NPCs |
| Wholehearted | My heart's set on you. | Reach Heart Level 5 with at least one NPC |
| We Are... | Living happily together is what matters most. | Reach Heart Level 5 with five NPCs |
| Just Roommates | We're just roommates, really. | Make an NPC move in with you in the same house |
| Lifelong Companions | This is a big family. | Reach Heart Level 5 with 10 NPCs |
| Not Empty Walls | Now, you don't have to sleep on the floor. | Craft a total of 10 pieces of furniture |
| Fluffy Life | It's so Fluffy and Soft. | Adopt one pet |
| Not a Shabby Room | Nothing beats the comfort of a well-decorated home. | Place a total of 50 different pieces of furniture |
| Renovated Home | Arrange all your furniture and make this place your own. | Unlock 100 different pieces of furniture |
| Fluffy Addiction | Before I knew it, I'd become a servant to all things fluffy. | Adopt three pets |
| Fluffy Recluse | ...Do I really need a reason to go out? | Adopt six pets |
| Fashion Learner | "You're mesmerized by my outfit, aren't you?" | Obtain 10 different clothes |
| Fashion Lover | What's your outfit of the day? | Obtain 20 different clothes |
| Fashion Expert | Even if no one is watching, staying stylish is my passion. | Obtain 30 different clothes |
| A Knight's Ride | Try its speed! | Purchase and move around in a scooter |
| Starsand Racer | There's nothing I can't drive. | Buy and move around in a car |
| Soaring High | Its wings spread like the clouds of the sky. | I am yet to figure out this achievement. This one might be unavailable as of writing |
| Offshore Living | Waking up to seagulls' calls is pure bliss. | Buy a piece of land on Windflute Island |
| Legendary Friend | Hi, everyone. This is my rideable friend... | Unlock the Luna Deer mount |